Tuesday 21 May 2013

Everyone loves pizza!

I have made homemade pizza several times before so I thought this has got to be a must be in my blog! 
Whenever making pizza before I tried many different things, Last year I did not have a pizza baking tray or stone, so had to place on a normal tray, which lead to many very odd shaped pizzas! 

As a moving in present though, I received a pizza stone, which works a miracle. The first few times I used the stone, I ended up with more pizza stuck to the stone than in my stomach, which was a nightmare for washing up! I then tried just oil, but this let to still some sticking, so after some advice from Andrew's mum, I used both flour and oil. Worked perfectly!

Anyway, away from my failed attempts and towards a pizza I made a few weeks ago. I use the recipe from the BBC GoodFood site, with my own changes of course. Now, this pizza I made slightly different, usually I didn't bake the base before cooking the whole pizza, but as sometimes this resulted in a very doughy and chewy base, I thought I would try baking the base before placing the toppings on. It worked a bit better doing this, although next time I have learnt to keep it in the oven a bit longer until it gets a bit more brown. 

These photos show my method (feel free to change items to your taste):

1.  Add 300g of Strong Whit Bread Flour to a medium sized bowl.


2. Add 1tsp of instant yeast and 1tsp of salt, put separate sides of the bowl to prevent the salt interacting with the yeast straight away. 
3. Add 1tbsp of Olive Oil to the mixture. Sunflower oil works just as well and is more value for money.
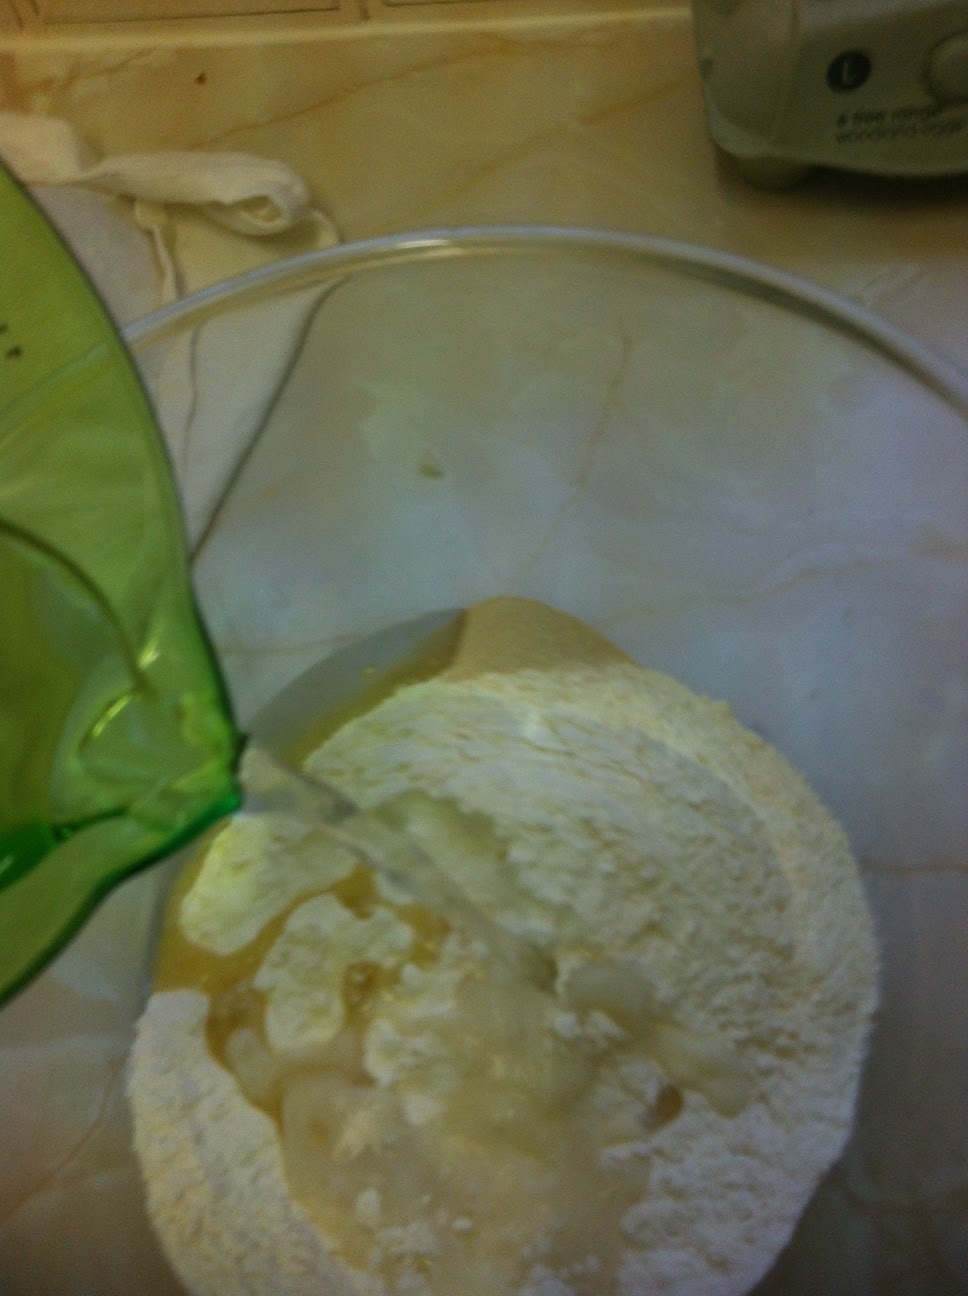
4.Pour in around 200ml of water, you may not need all of the water though, it depends on the type of flour you use. I tend to only add a bit at a time and mix to see how much more I actually need. 


And mix all together with your hands, below pictures what the dough looks like as you continue mixing it. 


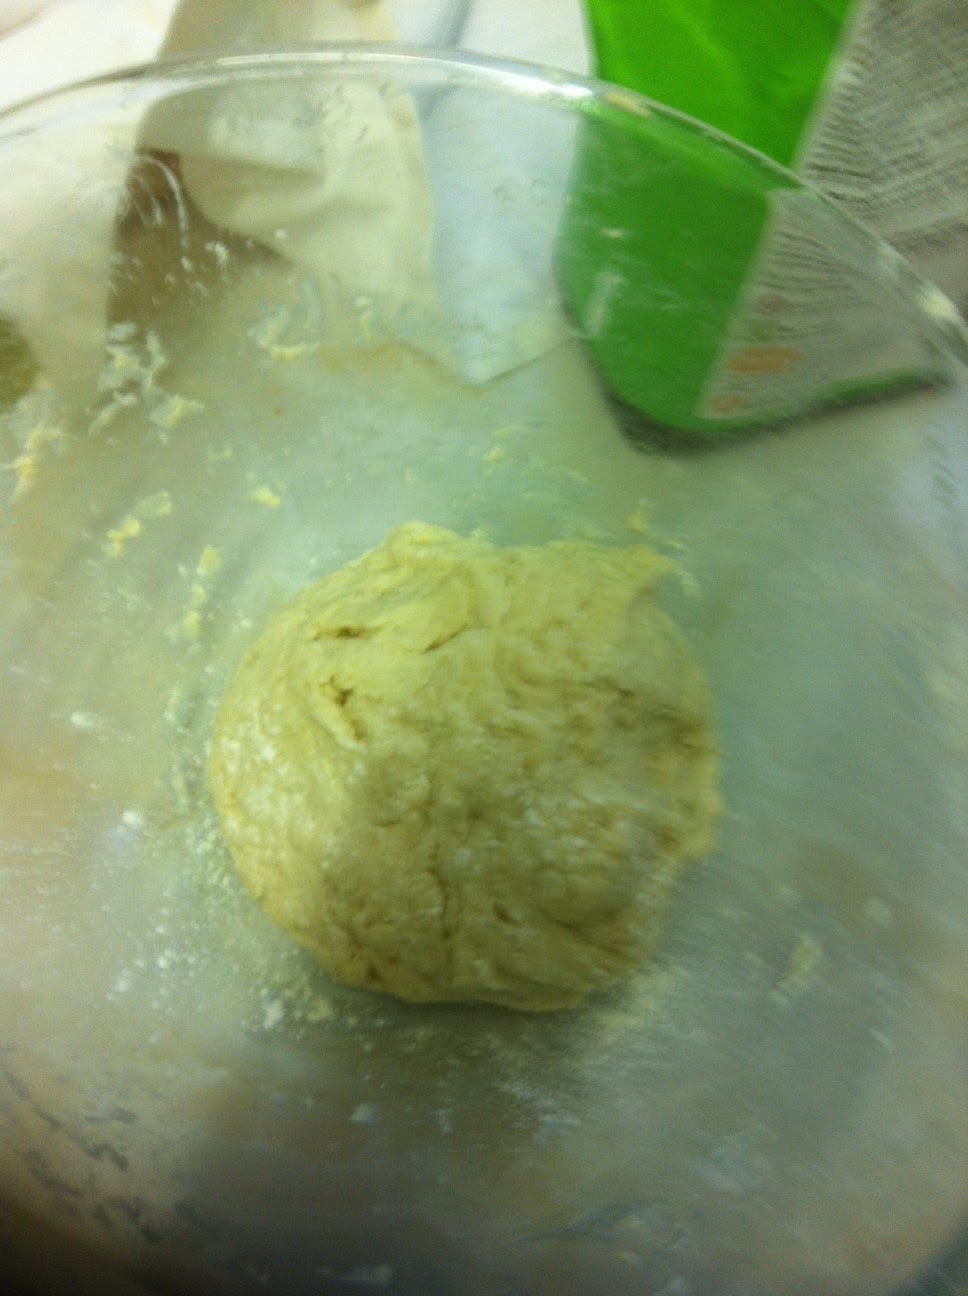
As you continue adding water and mixing you should end up with a basic ball shape. Then you are ready to knead the dough. 
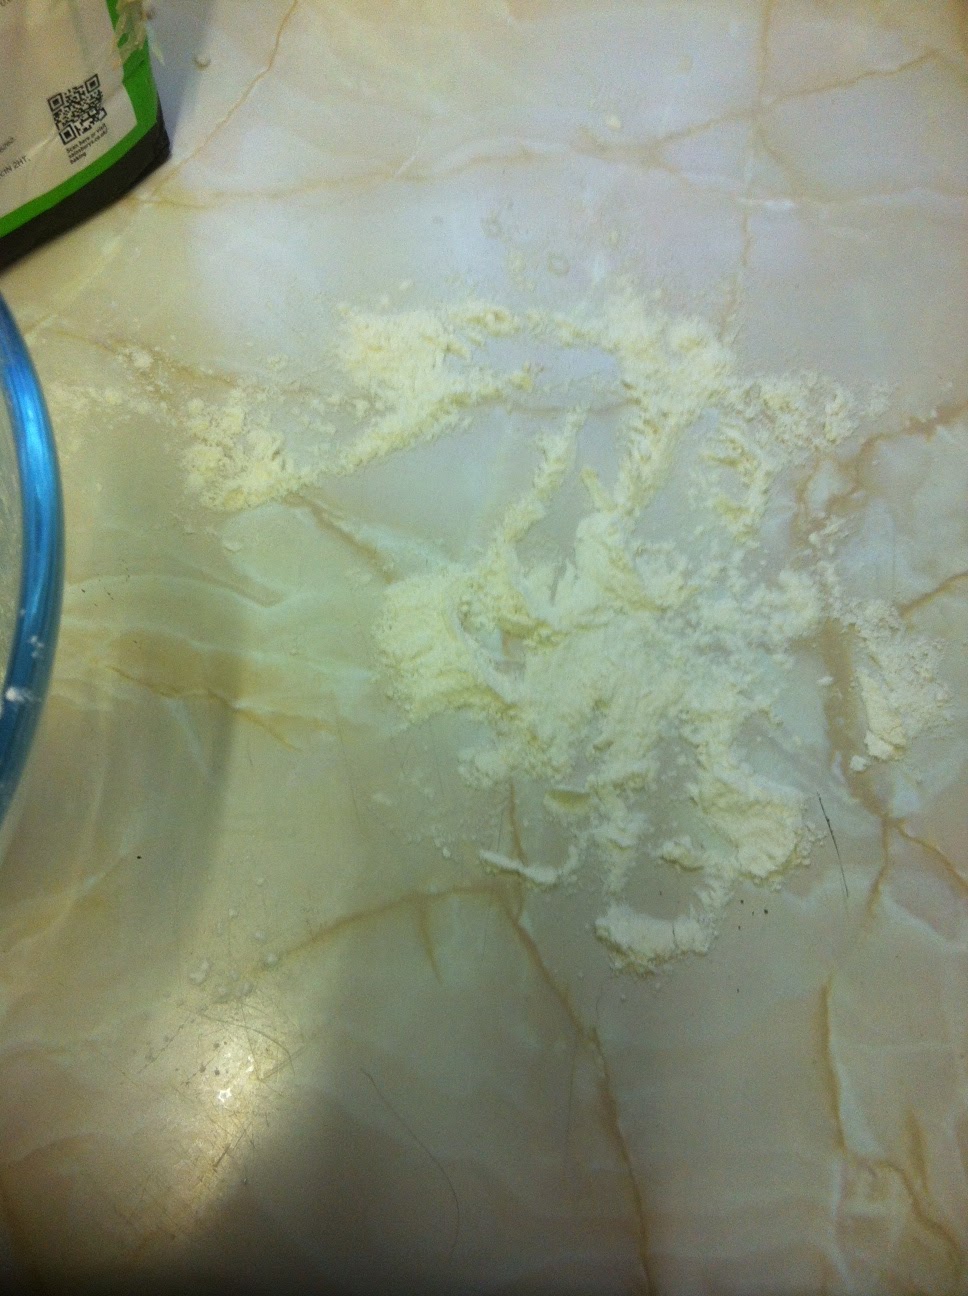
5. Sprinkle some flour on a clean surface, alternatively you can use oil. Choose which method you prefer most. Flour is often harder to clean up afterwards and can make the dough really dry, however if your dough is quite wet, then that could be a good thing. Oil prevents the flour/water ratio being changed but at first it is a very weird substance to work with when kneading. 
6. Knead the dough on the floured or oiled surface until it becomes a soft ball. 

7. Pour a small bit of oil on to the pizza stone, if you don't have a stone the same with a tray can work. Spread the oil round, I often end up blotting the oil off with some kitchen roll, as to make sure that there is not too much excess. After placing the oil on, sprinkle evenly some flour over the top.

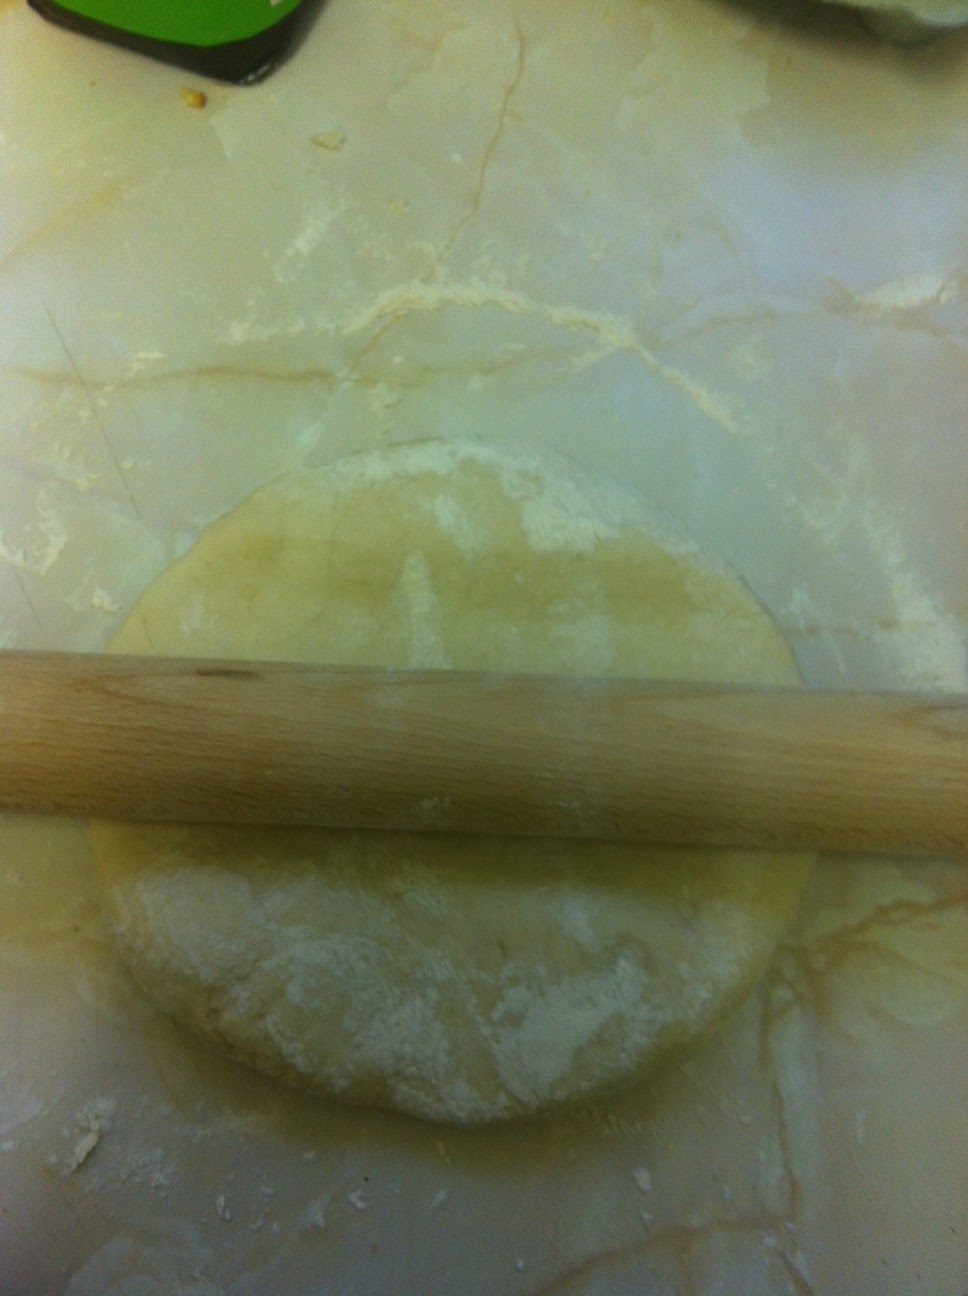
8. Start rolling out the dough on the surface, flip it over several times so it doesn't stick. I often only do a small bit of rolling and then use my hands to stretch the dough at the edges into a circular shape. Sometimes I will be a bit adventurous thing of flinging the dough into the air and catching it to stretch the dough, this works really well. Although try not to catch on the tips of your fingers or else you may have a dough with holes in. 


9. Place the dough on the stone, you may want to roll it out a bit on the stone, and fiddle with it a bit to get it more into shape.  


10. Place in the Oven on a medium temperature, I think I chose 180 celsius, and bake for 5-10 minutes depending on your oven. Keep an eye on the base and you can time how long you need for the texture you prefer.  

11. Here comes the fun bit! (apart from the eating part of course! :P) Get your pizza sauce, I just used passata sauce here, but you can buy actual made pizza sauces. My mum tends to use a mixture of passata, tomato puree and mixed herbs. But find a mix that is right for you. spread across the pizza, using the back of a spoon. Grate however much cheese you want and place on the top. As you can see, I like my cheese. Then add any extra toppings you fancy, some you may have to cook before hand depending on what they are. 
12. And Bake! for about 10 minutes, enough so all the toppings are cooked and the cheese is bubbling or melted. 
13. EAT!!!! (although I find myself with a burnt tongue often because I can't wait  to tuck in. 


Hope you enjoyed my basic recipe to creating your own pizza, adapted from the BBC GoodFood website, I hope to try using mozzarella someone instead of or as well as cheddar, as cheddar makes the pizza really greasy. Also may attempt a calzone pizza again which I may post. 
Happy Eating!!!!

Monday 13 May 2013

Bread Obsessed!

Recently I have decided to rekindle my love of baking my own bread. When I was younger I had made bread by hand a few times and I have helped my mum using her bread machine. The memory of it has really stuck with me. Whether its the smell that blossoms throughout the house, of the warm starchy dough baking or the feel of the stringy, sticky but firm mess being kneaded. Either way bread has always been something I have enjoyed making.

What made me to decide to go back to baking bread?

I think being a student and now having my own kitchen I already wanted to explore cooking and baking further, and be able to make the most of money. That and recently I have become more and more addicted to BBC's The Great British Bake Off, with Paul Hollywood and Mary Berry. I think I probably became mesmerised by Hollywood's ability at baking bread. For my birthday I received Paul's new book 'Bread' based on the  new TV series. So from all this really I decided it was time to get out the yeast, flour and oil!

So a couple of weeks  back, I started by making a basic bloomer (recipe courtesy of Hollywood).

Recipe: 

500g Strong White Flour
10g Salt
7g Dried Yeast
40ml Olive Oil  (Sunflower oil is fine, I used sunflower oil for the first time...by accident) 
320ml Cool Water

Of course, these are always rough guides, using my Poundland cheap scales makes it difficult to get exact measurements anyway. 

Now I am not going to give you all the details of making the perfect loaf, mine are nowhere near perfect yet but they do taste scrummy! Instead I will give you a basic run through of what I did:

    I weighed the flour, then salt and then the yeast. When putting everything in the bowl I made sure that the yeast and salt where separate.
    I then added the oil and some of the water (Note: You don't want to add the water all in one go as you may not need all of the water stated)
    THEN MIX!!! And I do not mean mix with a mixer or wooden spoon, you need to put your hands into the bowl and mix it, not only is that the fun of it but it also creates a better mixture.
    Then knead. You can do this with a floured or oiled surface, I attempted oiled the first time and ended up using flour anyway.
    Proove for few hours depending on the room temp. I just placed a tea towel over the bowl, it took longer than expected the first time so put it near the heater to try and speed it up... which didn't really do anything!


    Knock the air out of the bread with your knuckles, and shape the dough.
    I placed the loaf on a oiled tray and the first time added flour for assured prevention against sticking. And then proove again for an hour.
    Now Paul Hollywood says to prepare for baking by brushing water over the loaf and then sprinkling on  some flour, I didn't fancy the flour so just got a sharp knife and made a few couple of cm deep slits in the bread. The bread will stretch where you cut them to create the classic look. I kind of failed at making mine look equal. 

    And then Bake... Hollywood says to bake for 25 minutes on 220 degrees celsius and then 10-15 mins on 200. However I found after 25 minutes my bread was going a bit brown. It sounded hollow when I tapped on the bottom so I took it out of the oven, restrained myself for a few minutes and then got the clover I had in the fridge and watched it slowly melt as I spread it on a nice thick loaf of home made bread. 


    Now the first time I made bread in a while was far from perfect, so this weekend  I decided it was time to try again. 
    This time I made sure I used Olive Oil instead of Sunflower Oil, but it does not really make any difference. Also when I kneaded, the first time I wanted to attempt kneading with oil like Hollywood says but that did not go too well. So this time I started with flour, but it made the mixture too dry, so I went back to oil and it worked! First round of Prooving was a bit more successful too, I used clingflim instead to go over the bowl and I think it must of been warmer. Second round of Prooving, was maybe too successful! I went out and it inflated to a huge mass of dough. I tried to knock a little air out as to decrease the size, and reshaped it, slit it (Still not very even spaced across the bread) and popped it into the oven. This time I reduced the oven temperature and put it on for the 25 mins. After 25 mins I think I put it on for a little bit longer, but either my oven has a temperature gauge of its own or it just does not need so long to cook bread! I also ensured I did not use flour on the tray as it makes it worse to clean off... plus it does not really need it. Also I made sure I started earlier in the day, when baking break the prooves take several hours, the first time I underestimated that time, so was baking and eating bread at gone midnight!

    All in all, baking bread is a very enjoyable experience, its smells amazing, feels amazing and even better, tastes amazing! I am hoping to continue my baking bread adventure soon too! I have some brown bread flour I may substitute into the recipe instead.

    So if you have never baked bread before, do so! Don't be afraid to fail, it takes practice to make perfection :D
    Below are the rest of the pictures of my second attempt!


    Saturday 11 May 2013

    Ice Cream and Flour = Bread!

    Really?
    Yes Really?
    After finding this on a student deals website,
    (http://www.studentbeans.com/student-money/a/ice-cream-flour-bread-honestly4291.html)  
    I just had to try this for myself!

    For someone who has always loved making her own bread by hand, this seemed like a challenge. At the time I had just made a loaf of bread and was waiting for that to prove for it's first round. I decided I wanted to try this new recipe, but thats when catastrophe strook! I only had one mixing bowl and that was in use! That and I only had bits of ice cream left in numerous tubs, and for my first go I didn't feel like mixing them all in one!
    So that equated in a small shopping trip. We picked up Walls Soft Scoop Vanilla ice cream, wanting to start with a more simple taste to start with, that and it was cheaper, so as the stingy student I am, I wouldn't have to pay out loads for something I didn't like. I want to try a Mint Choc Chip version as well as a Ben&Jerry Cookie Dough one...my favourite ice creams turned bread!

    We deviated a bit away from the exact measurements because the recipe was not in metric. We took just over a quarter of the ice cream out from the tub, which was easy because the ice cream was soft scoop. We plunked it into the mixing bowl we went and brought earlier and then added the flour. Now what I did was get a measuring jug and fill it up to the conversion rate of the said amount in the recipe above. I packed it down to get it more accurate, but it was all sort of guess work.

    Lesson: Never be afraid to mess around with the recipe, the numbers are really a guidance, experiment a little and see what you prefer best. Plus take your own spin on things - thats the fun of cooking!

    When I mixed in the flour, it created a very weird mixture, in some ways it was like the frozen space food you can buy. It was quite amusing to feel the coldness of the ice cream emanating from the bowl. I kept mixing until the flour was mixed in as it says on the website but continued a bit longer as to ensure it was a bit more creamy and therefore more manageable.

    I then greased a quite large loaf tin, I think I could of used a smaller one for my loaf, but just make the most of what you have. The next bit was amusing as I had to transfer the mixture into the tin, I ended up with almost numb fingers. I found the spreading of the mixture in the tin quite difficult, so I may try with less flour next time.

    I then popped the loaf in my oven for about 25 minutes on about 180c, as I have found through making bread my oven temperature does not always coincide with recipes. I did leave it on for an extra 5 minutes to ensure that it was cooked through. However, I was not sure how to tell whether it was fully cooked on not, so I just checked whether it was hollow or not by tapping the bottom, like on do on normal bread.

    I do not know what I was expecting when I first tasted, I cut it in half to look at the inside and it looks a very smooth texture whereas the top texture is crisp and bumpy. I found that the the whole bread is very crumbly and breaks apart easily as well.

    All in all I found the bread a pleasant surprise, I keep going back and having more because there is something weird but good about it that I just can't put my finger on.  

    It's a rather sweet bread, Andrew (my boyfriend) is enjoying smothering it with Nutella (yuk!) But however I am finding it enjoyable by it's self. I am not sure whether just putting butter on the bread would suit it, maybe jam would be good, or you could always get some strawberry, toffee, maple, chocolate etc, sauce on it and cover it with sprinkles for those days when you want an ice cream but it is just too cold. It's refreshing vanilla taste is cool, it sort of crumbles and melts in your mouth at the same time. The crust is delightful as well. Andrew says it's quite similar to scones.. but not :)


    Now I need to stop eating all this yummy food!
    Hope you guys all try your own versions, and tell me how it goes!

    Laura :)


    Welcome to My New Blog!

    Hi there,

    I have tried blogging before, but I have never really continued with them. This blog however I plan on doing so. I am hoping to showcase recipes, bakes and a manner of all crafty things on here. I may create another blog to showcase my creative writing, but I will see how this one goes first.
    Anyway, introductions:

    I am Laura, I am 19 at present and go to a University in the South of England. I am studying English and Creative writing. I have a passion for books, writing, crafts, baking and the environment and animals. I am a vegetarian and have been so for around 6 or so years... I am not too sure of the exact number of years.

    In the past I have done numerous bakes and crafty things, in a future blog post I plan on showcasing all my past work from cakes to cards to clothing and more.

    Feel free to leave questions or opinions on my work, or even any ideas for the novice me :)

    Laura :)